

How to Decorate Your Christmas Tree Like a Pro | A Step-by-Step Guide
2026-06-17
As Christmas approaches, when you take out the Christmas tree and decoration boxes you have purchased, what you end up with is a rather plain or messy display effect – far less impressive and enviable than those shiny and attractive Christmas trees in stores or exhibition halls.
The key to creating a professional look lies not in spending a lot of money, but in following reasonable steps, skillfully layering decorations, and paying attention to details.
This guide breaks down the entire process, incorporating the latest 2026 trends, so even a first-timer can create a stunning tree.
2026 Christmas Tree Decoration Trends
Tree decorating trends evolve every year, and for 2026, professional designers are leaning towards two main aesthetics.
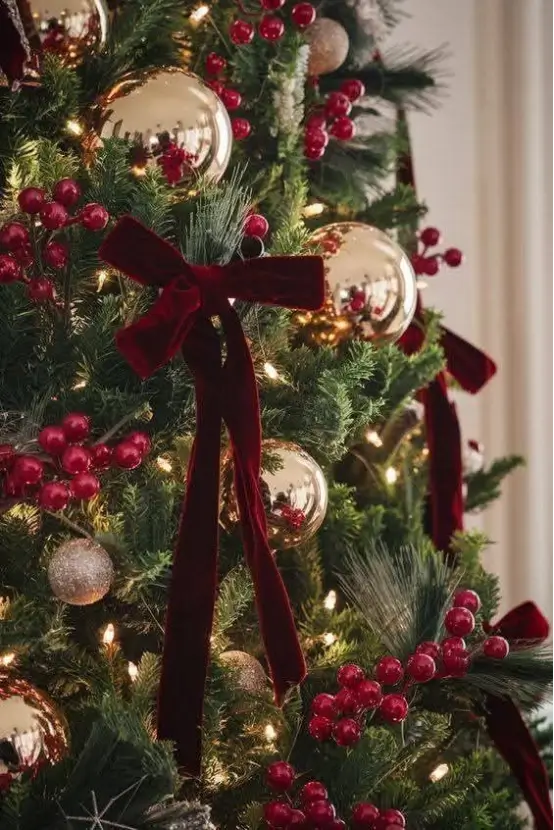
The first is the vintage luxury gemstone look. This shifts from the classic red-and-green combo to richer, more muted jewel tones. These include burgundy, emerald, amber gold, and dusty blue. You can combine velvet ribbons, retro-style glass decorations and metal accessories to create a luxurious and magnificent visual effect, which is suitable for larger residences and luxurious interior spaces.
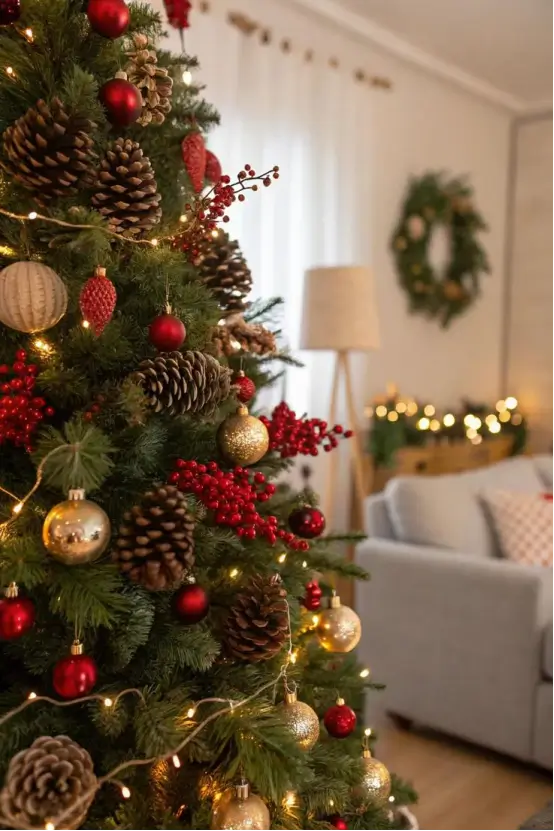
The second is the Natural Calming Minimalist style. This trend uses a palette of off-white, champagne, and natural wood browns. Think dried pinecones, faux berries, frosted floral picks, and woven accessories. It creates a serene, wintry atmosphere that’s ideal for smaller spaces or Scandinavian-inspired homes.
Beyond these styles, oversized baubles, vintage-look plush toys, delicate fairy lights, and multi-layered ruffled ribbons will top the season’s must-have list. Choose a direction that complements your home’s existing décor and run with it.
Choosing Your Christmas Tree Theme
Selecting a theme is the most crucial first step. It’s the anchor that prevents your tree from looking chaotic. Every single item—from the lights to the Christmas Tree Ornaments—should align with this chosen style. A golden rule among pros is to use 2–3 colors. Use no more than 3 material types. This keeps the look clean and coordinated.
Here are the four most popular theme categories:
Classic Traditional: The timeless red, green, and gold combo with bells and snowmen. It works for almost any home.
Luxury Gemstone: Deep, moody colors paired with metallic and velvet accents. This is a go-to for high-end hotels and commercial displays.
Natural Forest: Earthy tones like wood, beige, and cream, using lots of natural-looking elements.
Playful & Whimsical: Pastel colors with cartoon characters and colorful balls—perfect for families with young children.
Once you’ve settled on a theme, commit to it. Avoid mixing elements from different styles to prevent that cluttered, cheap look.
How to Choose and Shape Your Tree to Fit Your Scene
Christmas trees come in all shapes, sizes, and materials—from fluffy to sparse, from slim to wide. You’ll also find different needle types like spruce, pine, fir, and flocked (snow-dusted) varieties.
Here’s a quick guide to picking the right one:
For a full, grand look that can hold heavy ornaments → Choose a Fir (Nordmann or Fraser) .
For a classic, budget-friendly option for a season → Go with a Spruce (Norwegian) .
For a light, airy, minimalist vibe with minimal decor → Pick a Long-Needle Pine.
For a snowy, cozy, “Cottagecore” feel → A Flocked PE Fir is your best bet.
For a rustic, natural look to complement floral picks → Use Cedar, Cypress, or Hemlock branches.
For a commercial setting requiring high realism → Invest in a solid PE mixed-branch tree.
Now, here’s a step that many people skip, and it’s the biggest difference between an amateur and a pro tree: shaping. Whether you have a real tree or an artificial one, the branches are often flat and compressed from being packed away. Put on some gloves and, starting from the bottom, work your way up. Gently pull each branch outward and upward, fluffing the smaller side shoots so they spread out in all directions. If you see any sparse or flat spots, bend some of the surrounding branches to fill the gaps. A well-shaped tree is the perfect canvas for your lights and ornaments and will look full and magnificent from every angle.
Adding Your Christmas Lights
Lights are the soul of the tree, and the golden rule is: always put the lights on first, before any decorations. If you try to add them later, you’ll have a nightmare trying to hide the wires.
Start at the base of the trunk and weave your light strand in a zigzag pattern, working your way up. Push the bulbs deep into the branches, towards the trunk. This allows the light to glow from within, creating a warm, magical ambiance rather than looking like a string of bulbs just sitting on the surface. For a standard 1.8m (6ft) tree, you’ll want about 300-400 warm white LED lights. Warm white is incredibly versatile and works with almost any theme. Colored lights are best reserved for a playful, child-friendly tree. Remember to test your lights before you start to ensure there are no faulty bulbs.
Decorating with Ribbon and Garland
With your lights in place, it’s time to add structure and flow using Christmas Garland and Christmas Tree Ribbon. These elements help weave the whole tree together and cleverly disguise any light wires.
For 2026, stiff velvet ribbons are a top choice because they hold their shape beautifully and don’t go limp. For an average-sized tree, prepare 3-4 long strips. Starting at the top, drape them down, gently wrapping them around the tree in a loose, cascading fashion. Don’t pull them tight; let them form soft, natural swags. Tuck the ends of the ribbons deep into the branches to hide the raw edges. You can also add woven vine or beaded garlands, wrapping them in the same sloping direction to complement the ribbons. Step back every so often to check that the balance is right from all sides.
Hanging Your Large Christmas Decorations
Now, the fun part begins! The professional rule is “big to small.” Start by placing your largest items—these are the “anchors” of your design. These are your oversized baubles (8cm+), large bows, or statement plush toys.
Position these eye-catching Christmas Baubles and large ornaments deep into the upper-middle sections of the branches. Space them out evenly, about 30-40cm apart, and make sure they’re distributed throughout the tree—front, back, and sides. This prevents the tree from looking one-sided. Play with the depth by tucking some deep inside and placing others slightly forward to create a rich, layered look.
Adding Medium and Small Ornament Balls
With your large statement pieces in place, it’s time to fill the gaps with medium and small Christmas Tree Ornaments to add texture and detail.
Medium Balls (5-7cm): Use these to fill the empty spaces between your large ornaments, placing them in the middle layer of the branches.
Small Balls (around 3cm): These are perfect for the outer tips of the branches, adding a final touch of delicate sparkle.
A pro tip is to group smaller balls of the same color in clusters of three. Also, mix up the textures—combine glossy, matte, glittery, and fabric ornaments to keep the visual interest high. As you decorate, keep stepping back to assess the overall density. You want it to feel full and lush, not overcrowded.
Filling Gaps with Floral and Berry Picks
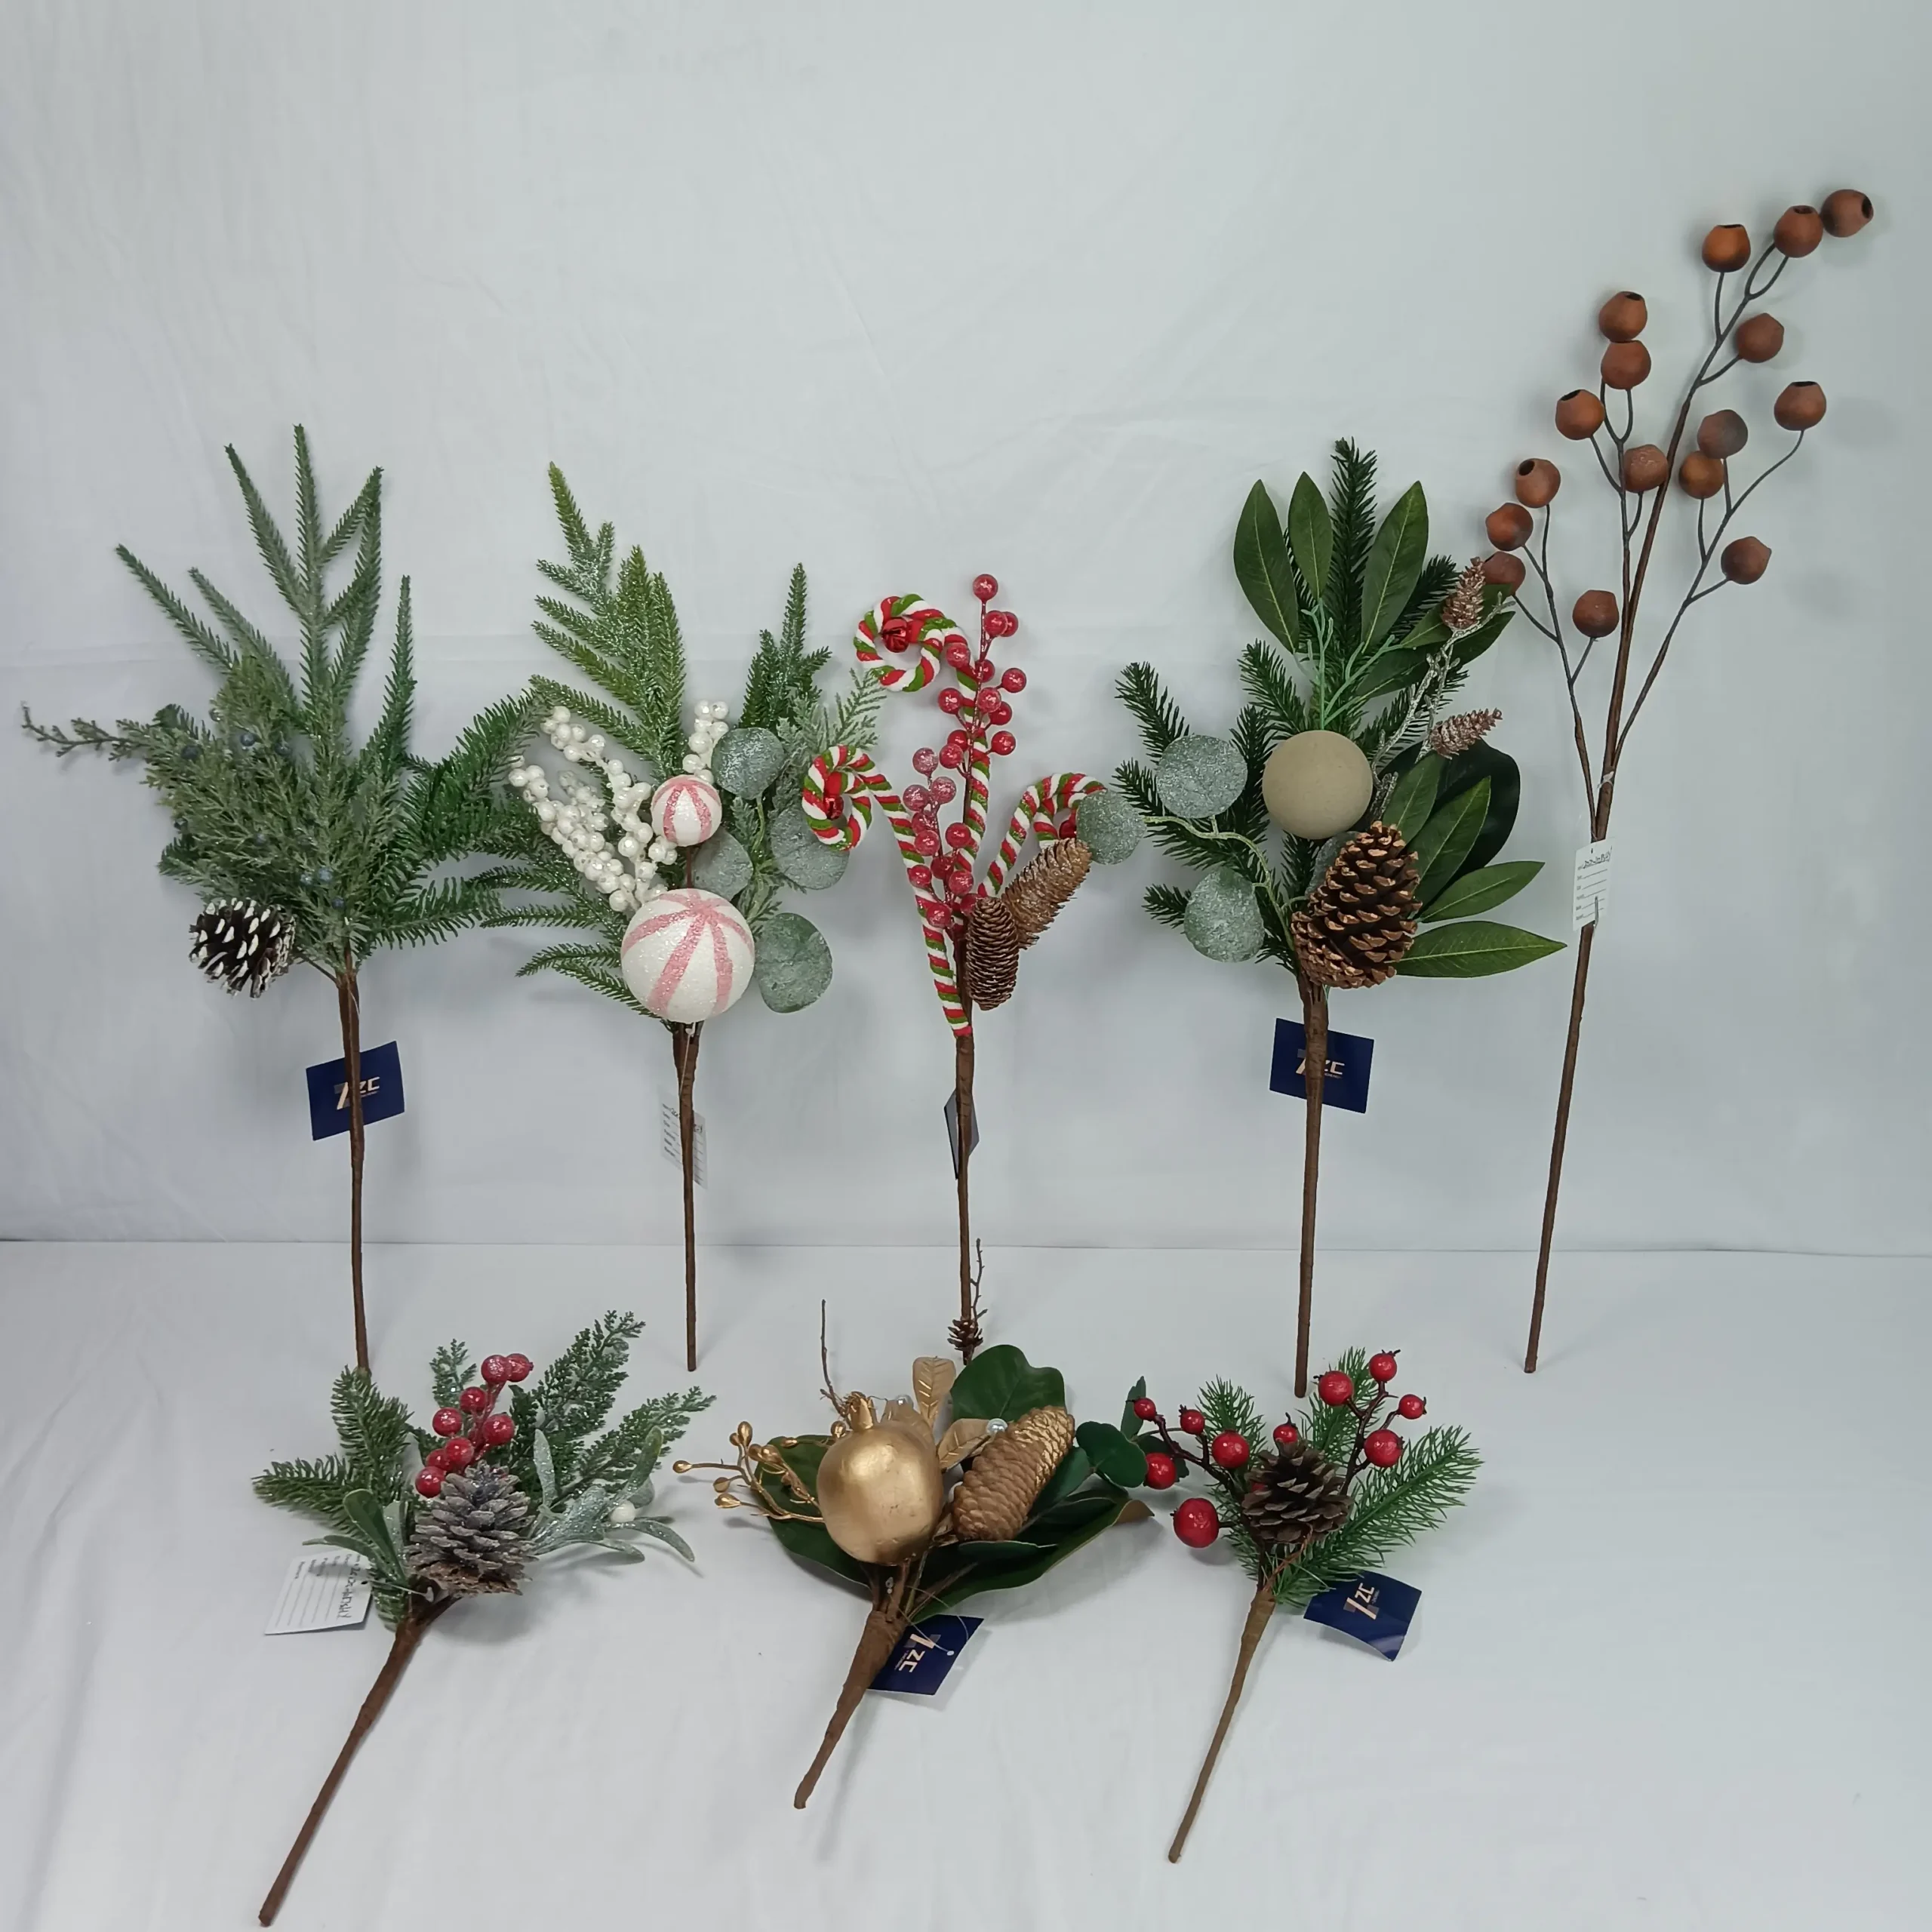
After all your balls are hung, you might notice small, annoying gaps between the branches and decorations. This is where Christmas Picks come in—they are a pro stylist’s secret weapon. Items like pine cone branches, red berry sprigs, faux pine stems, or dried flower bundles are perfect for this.
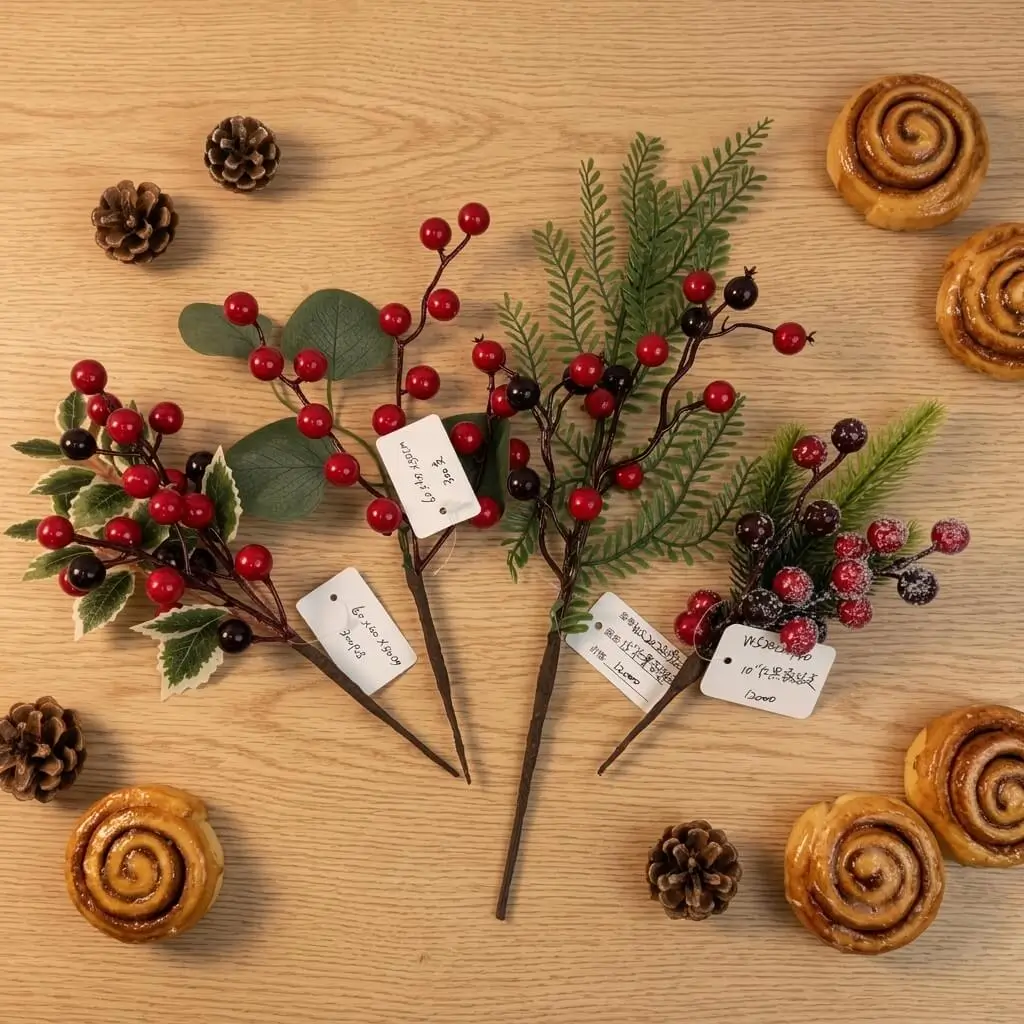
These picks usually have a metal stem, which you can simply push deep into the gaps. Scatter them evenly throughout the tree, from top to bottom. They add incredible texture, a sense of natural abundance, and instantly elevate your tree from “decorated” to “professionally styled.”
Topping It Off with a Tree Topper
The tree topper is the crowning glory of your creation. For a traditional look, a star or an angel is a classic choice. To create a more modern 2026 style, you could consider pairing it with a luxurious tiara, a huge velvet bow, or a beautiful feather and flower decoration.
You must securely fasten and perfectly center your topper. The size should be proportional to your tree—too big and it looks top-heavy, too small and it gets lost. Once it’s on, give it a final tweak so it faces the main viewing angle of the room.
Adding a Tree Skirt
Don’t neglect the base! The unsightly metal stand, exposed trunk, and trailing wires can ruin the whole illusion. A tree skirt is essential for hiding these imperfections and grounding the entire design.
Choose a material decoration that matches the theme – such as velvet or glossy satin can create a Luxury Christmas decoration atmosphere, while linen and knitted wool are suitable for creating a simple and natural theme style.
Fluff it out neatly around the base, letting the edges fall softly onto the floor.
To add the finishing touch, you can place some wrapped gift boxes or a few small thematic figurines around the skirt to create a harmonious and cozy scene.
Pro Decorating Tips
Color Control: Stick to a maximum of 3 colors. Use varying shades of the same color for depth and interest.
Depth and Layering: You can place the larger core decorations on the main branches of the Christmas tree, while the smaller and more delicate ornaments can be placed at the top of the tree to create a sense of depth and hierarchy.
Balanced Layout: Distribute your ornaments evenly around the tree’s center. Visual symmetry is key to a pleasing look.
The Art of Leaving Space: Don’t feel the need to cover every single branch. A little bit of negative space is a hallmark of modern, sophisticated design.
Common Decoration Mistakes to Avoid
Most beginners end up with a less-than-perfect tree because they make one or more of these classic errors:
Putting the lights on after the ornaments.
Overcrowding the tree with too many ornaments, making it look bloated.
Hanging all decorations on the outside of the branches, creating a flat look.
Pulling the ribbon too tight and leaving ugly, frayed ends visible.
Skipping the fluffing/shaping step completely.
Avoid these pitfalls, and you’ll instantly see a massive improvement in your tree’s appearance.
Previous article
Hot Red Berry Christmas Wreaths – Materials, DIY Assembly, and Global Market TrendsNext article